Contents
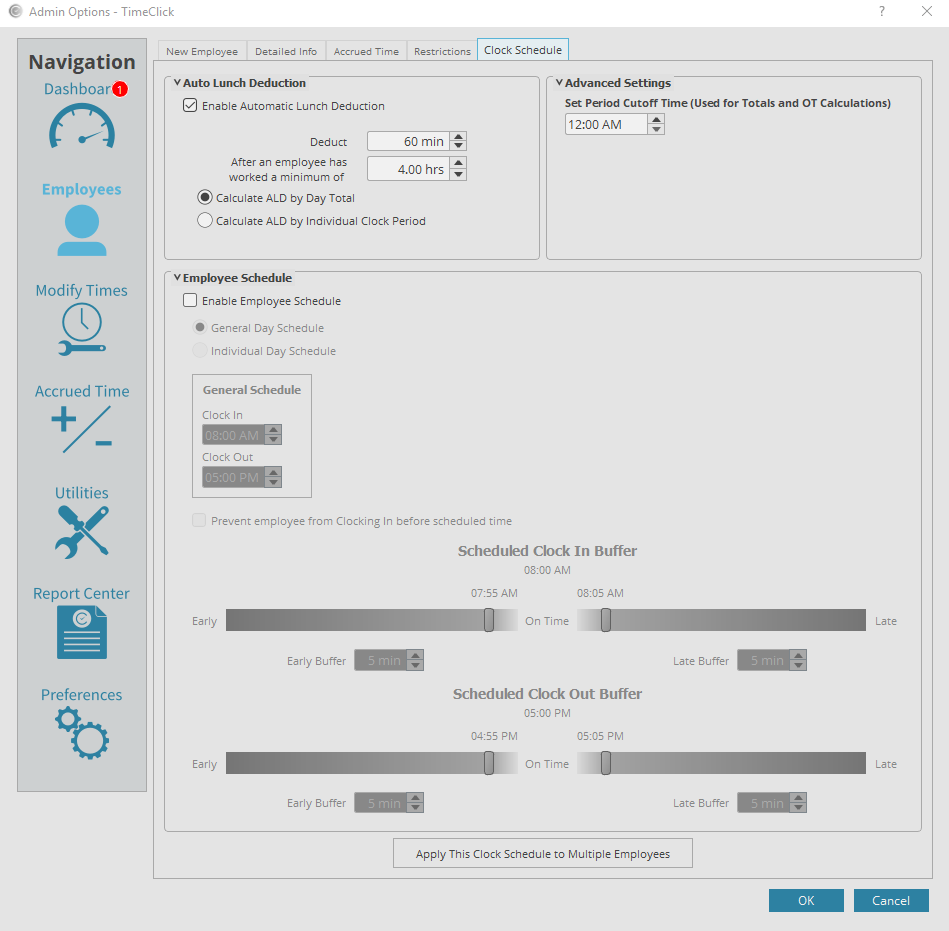
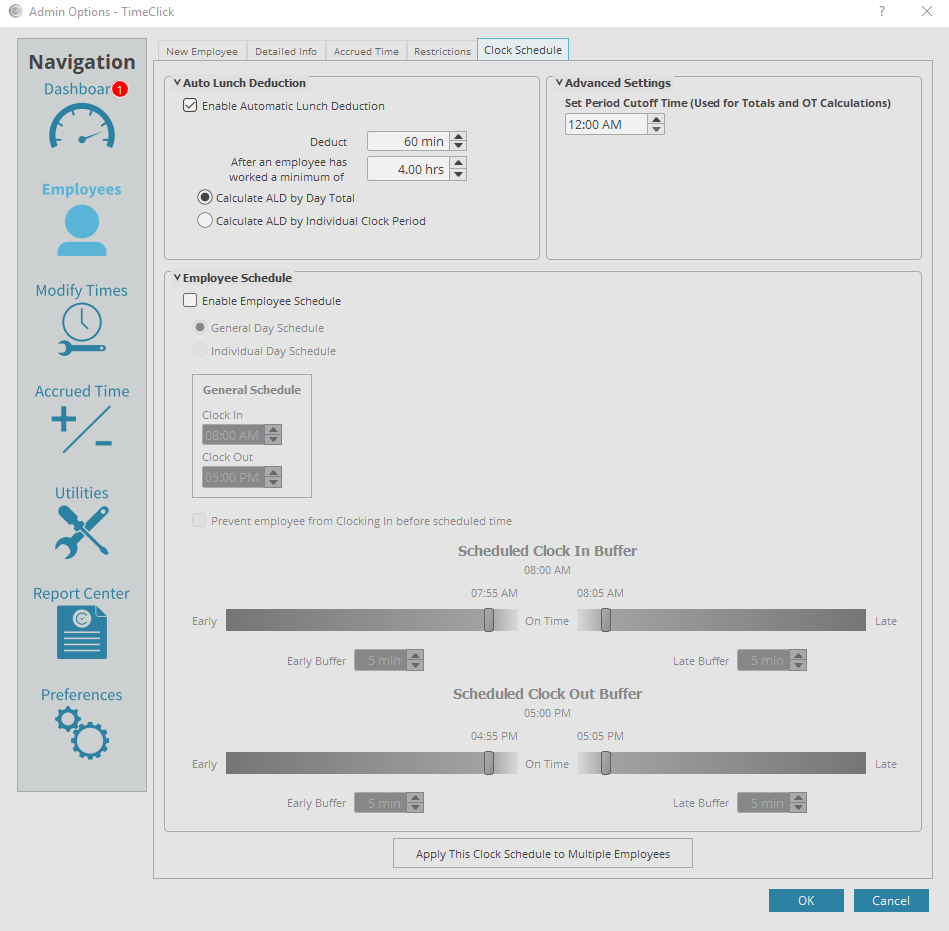
The Employee Schedule tab has several features. It has an auto lunch deduction feature, midnight cutoff time advanced feature, and an employee schedule which can be set by day or by week. Each of the features can be unique to the employee thus giving you the option of having multiple shifts and types of employees.
Setting Auto Lunch Deduction
The Auto Lunch Deduction feature is great for stream lining the process of accounting for a lunch break. Pro, TimeClick will deduct the amount of time an employee is allowed for lunch. Con, you will not be able to refer to TimeClicks main screen to see if an employee is on lunch or not. Below is the process for setting auto lunch deduction assuming you are not already in admin mode.
- Log into Admin mode within TimeClick
- Click on Employees on the navigation bar
- Select the employee you would like to set auto lunch deduction for
- Click Edit Employee Record
- Go to the Clock Schedule tab
- Check the box to enable automatic lunch deduction
- Fill in the deduct field with the number of minutes you would like to deduct each time.
- Select your preferred threshold for how long an employee needs to be on the clock before the time is deducted
- Select either calculate ALD by day total or by individual clock period. day total means the total amount of hours within a day and individual clock period means the time between a clock in and out. Doing it by day total will mean if an employee clocks in and out throughout the day and their times all together are greater than the minimum hours then it will invoke the auto lunch deduction.
- If you would like to apply these settings to multiple employees, scroll to the bottom and click the button that says Apply this Clock Schedule to multiple employees.
- Once you are all done working on the clock schedule screen click OK to save the settings and close the employee record

Setting Midnight Cutoff Time
Adjusting the midnight cutoff time is not necessary for most employees. However, for employees who work a midnight shift may need this adjusted for their times to appear right on the hours report. TimeClick has this feature because TimeClick has to set what a 24 hour day is. For most that day starts at midnight and ends at midnight. However, some payroll systems have this adjusted for midnight employees so a 24 hour day is from 7am to 7am the next day. That way the time worked will apply to the day the employee started their shift.
Without this feature any midnight shift times would be cut at the midnight cut off time and any time prior to midnight will be awarded to the day the employee started the shift. and the time after midnight will be applied to the next day. By changing what time is the cutoff time, employers have more control of how the hours report will look for their employees. Below are instructions on how to adjust this time, it is assuming you are not already in the employee record.
- Log into Admin mode within TimeClick
- Click on employees on the navigation bar
- Select the employee you want to edit
- Click the edit employee record button
- Go to the clock schedule tab
- In the top right there is an option called set period cutoff time, by default it is set to 12:00 AM midnight. Adjust it according to your employees needs
- If you would like to apply these settings to multiple employees, scroll to the bottom and click the button that says apply this clock schedule to multiple employees.
- Once you are all done working on the clock schedule screen click OK to save the settings and close the employee record

Setting Employee Schedule
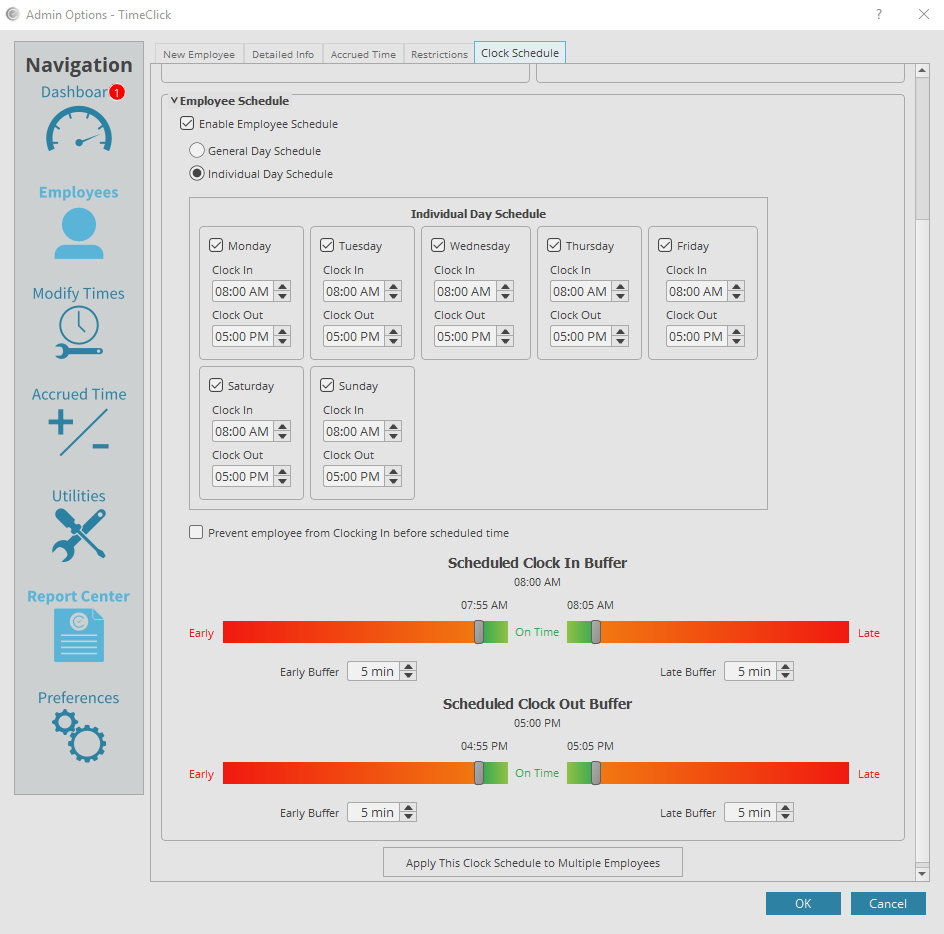
Setting the employee schedule is mostly important for the punctuality report within TimeClick. TimeClick is capable of compiling times and reporting whether an employee was early, late, or on time for both clocking in and out. You are also able to prevent employees from clocking in too early if the schedule is set. An employee schedule can be set by individual day or on a general day schedule. Below are any instructions you will need to set a schedule for a single employee or multiple employees. The instructions are assuming you are not logged into admin mode.
- Log into Admin mode within TimeClick
- Click on employees on the navigation bar
- Select the employee you wish to edit
- Click edit employee record
- Go to the clock schedule tab
- Check the box that says enable employee schedule
- Select either general day schedule or individual day schedule
- You may need to scroll down to see all the of settings for schedule
- Enter the clock in time/’s
- Enter the clock out time/’s
- If you want to prevent early clock in, check the box that says prevent employee from clocking in before scheduled time
- Under scheduled clock in buffer adjust the meter on both the left and right so that TimeClick knows at what range clock actions are considered early or late. by default on time is defined as being within 5 minutes before the clock time and 5 minutes after, that can be adjusted to fit your needs.
- Do the same thing as step 12 for the scheduled clock out buffer
- Make sure you are happy with the schedule settings
- If you would like to apply these settings to multiple employees, scroll to the bottom and click the button that says apply this clock schedule to multiple employees.
- Once you are all done working on the clock schedule screen click OK to save the settings and close the employee record

