Welcome to the Report Center
This is where you’ll generate reports, review timesheets, and get a full view of your team’s hours - from clock-ins and clock-outs to daily totals. It’s everything you need to prep for payroll.
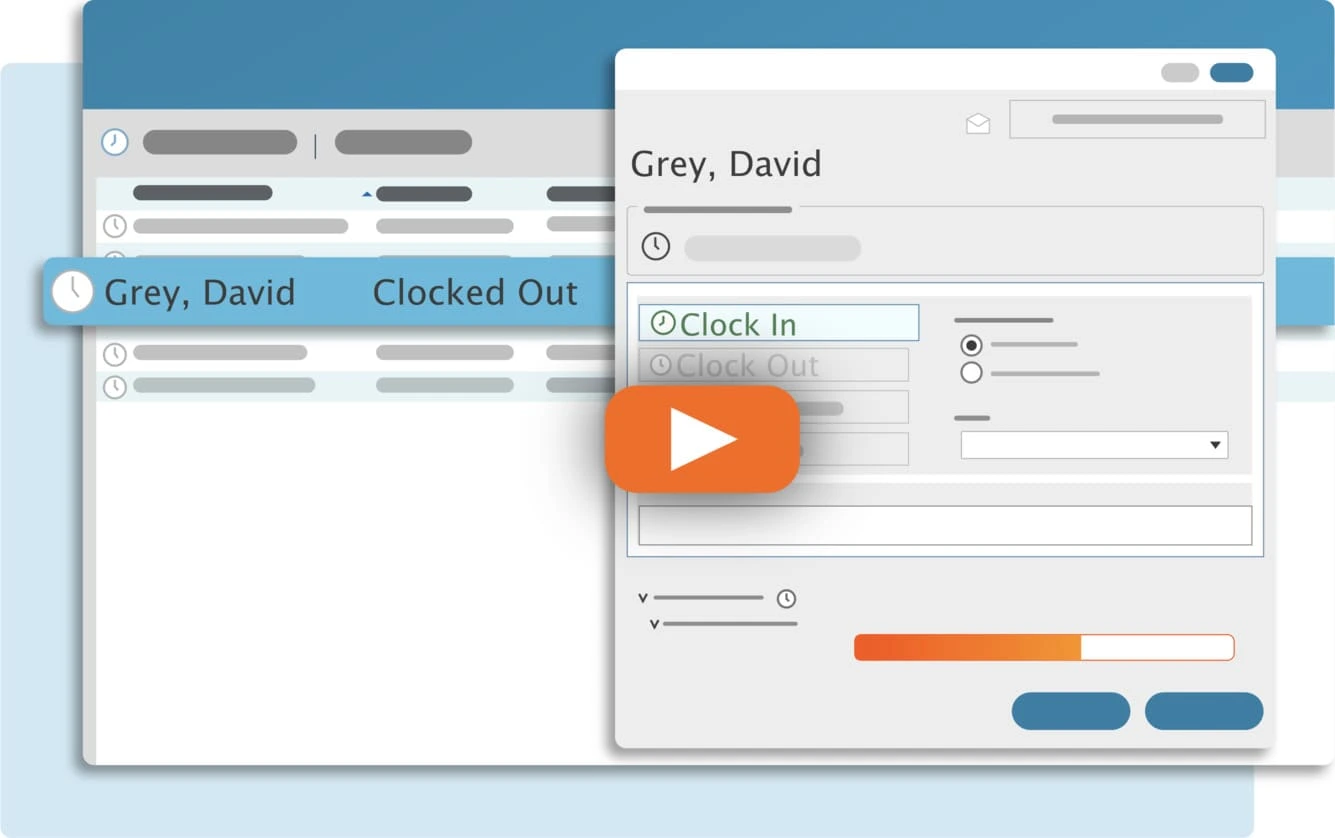
The Report Center, along with Modify Times, is one of the most-used parts of TimeClick. This is where all your employee data comes together before payday.
The basic workflow: Employees clock in and out → You fix any errors or missed punches in Modify Times → Then you run your final payroll reports here in the Report Center.
TIMECLICK TIP
This guide is for TimeClick 25. If you’re using TC 21 or an older version, the process is mostly the same - you’ll just notice a few visual differences in menus and buttons.
Tabs: Reports & Payroll Reports
When you open the Report Center, you’ll see two options at the top:
- Reports - The main area for reviewing and printing timesheets.
- Payroll Reports - Pre-formatted reports made for payroll systems like QuickBooks, Gusto, and ADP.
Let’s start with the Reports tab.
Reports Tab

Inside the Reports tab, every report follows a similar setup:
- At the top, select the report type you want to run.
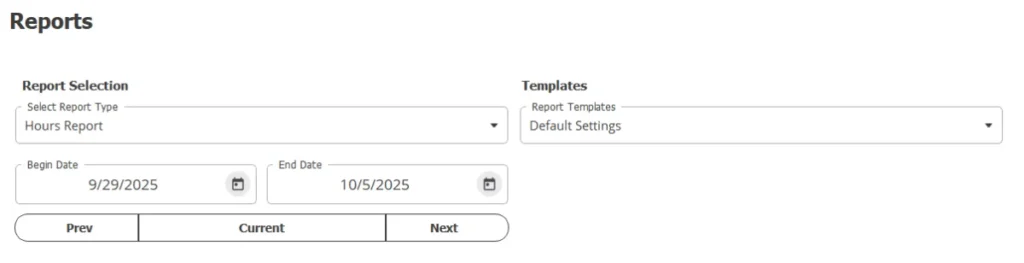
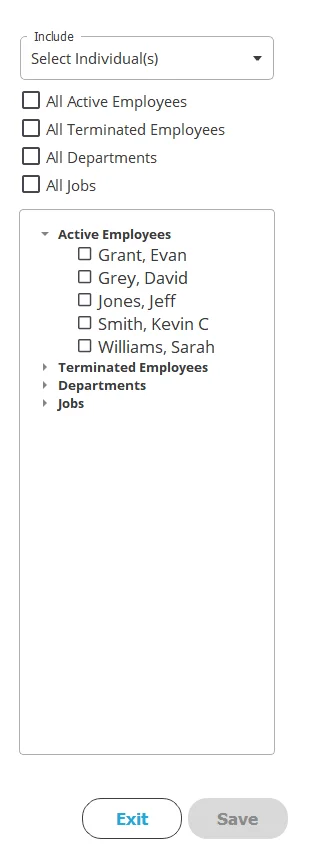
- On the right, choose which employees, departments, or jobs to include.
- At the bottom, set your date range and customize your report settings.
Hours Report
The Hours Report is the most popular report in TimeClick. It gives you a complete look at your team’s time - perfect for payroll prep or deeper tracking.
Quick Start: A Simple Payroll Report
- In the Report Center, select Hours Report.
- Set your date range (usually the current or previous pay period).
- Under Report Settings, select:
- Daily Clock Actions
- Day Totals
- Report Totals
- Overtime (OT)
- Click View Report - it will open as a PDF.

Advanced Options: Go Deeper
For more detail, include Weekly and Grand Totals, Department and Job summaries, or Break details. Customize it however you need.
Additional Options (Right Side)
To keep things clean, TimeClick hides most extra settings under a panel on the right side - think of it as your Advanced Options drawer. It’s great for power users who want more control but easy to skip if you just need a quick report.
Essential Settings: Sorting and Hours Format - you’ll use these often.
Optional Advanced Controls: Enable “Show Advanced Settings” to access rounding options, font size, comments, or one page per employee.
Viewing & Saving Reports
When everything looks right, click View Report. Your report will open as a PDF preview. From there, you can choose to Save as PDF or Save as CSV if you plan to import it into Excel or a payroll system.
Other Report Types
TimeClick offers a range of other reports, including:
- Summary
- Legacy Hours
- Accrued Time History
- Department / Job
- Payroll Projection
- Attendance
- Punctuality
- Employee Information
Custom Templates
If you often run the same report setup, you can save time by creating a custom template. Go to Templates → Default Settings → Create New Custom Template, configure your preferred options, give it a name, and click Save.
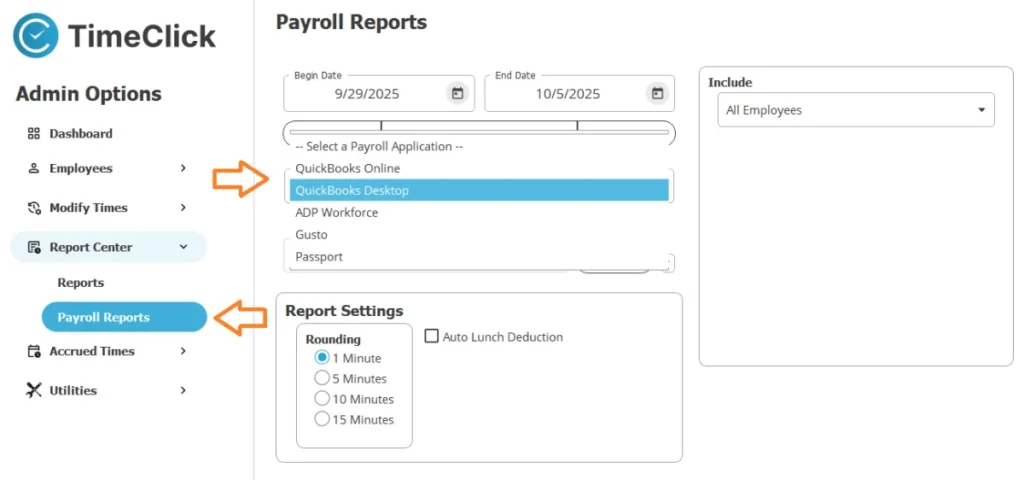
Payroll Reports Tab
This tab lets you export reports directly to major payroll systems, including QuickBooks Desktop, QuickBooks Online, Gusto, ADP Workforce Now, and Passport, Inc.
Final Tips
For payroll, use the Hours or Summary Reports. If you just need an estimate, try the Payroll Projection report. Always double-check your employee selections and date ranges before exporting.
And don’t forget - saving custom templates can make your next payroll run even faster.