You’ve seen how easy it is to install TimeClick and set up the basics. Now let’s go a step further. In just ten minutes, we’ll walk you through the next level of features - the ones most businesses start using once they’ve moved past the initial setup.
In this guide, you’ll learn how to use:
- Dashboard - view messages and quick reports
- Settings - update passwords, manage overtime, and adjust display preferences
- Utilities - handle backups and manage licensed devices
- Restrictions - assign limited admin access to supervisors
- PTO - configure and track accrued time
- Departments & Jobs - organize and analyze team hours
- Midnight Shifts - ensure overnight hours calculate correctly
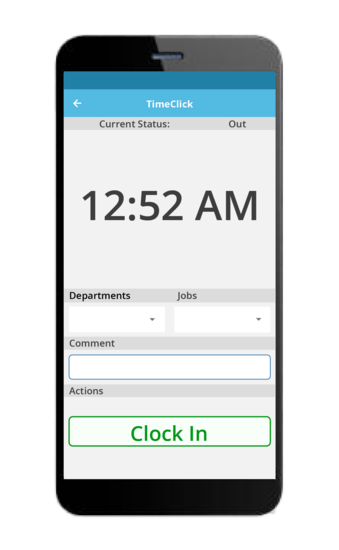
We’ll focus on the key tools you’ll start using right away to keep your team running smoothly. For mobile setup, see our dedicated mobile guide.
1. Dashboard

The Dashboard gives you an instant overview of your company’s activity - everything you need to know without opening full reports.
- Messages - Post reminders or updates to employees, or review their requests (like missed punches or PTO). Approve or deny them right from the Dashboard - approved changes update automatically.
- Quick Reports - Instantly view overtime, attendance, or payroll summaries. Just set your date range and click Generate Report.
TIMECLICK TIP
Dashboard messages stay within TimeClick. Employees see them the next time they clock in or out - no emails or texts required.
2. Settings

The Settings area lets you fine-tune TimeClick to match your company’s workflow.
- General - Update your Admin password, enable or disable break tracking, and customize general options.
- Overtime - Set daily or weekly overtime rules based on your company policy.
- Display Options - Control what employees see on the main screen, such as last clock, name display, or comment fields. You can even adjust settings per device.
TIMECLICK TIP
In older versions (TC 21 or earlier), this section appears under Preferences instead of Settings.
3. Utilities

The Utilities section is where you’ll manage backups and licensed devices to keep TimeClick secure and running smoothly.
Backups
- Create a manual backup anytime. It saves as a small file you can store anywhere for extra protection.
- Turn on daily automatic backups to keep your data safe.
- Moving your server? Use Unregister TC & Export Database (see our 5-minute guide).
Best Practice: Always keep daily auto backups enabled to protect your records.
Managing Devices
- If you see the message License Count Exceeded, go to Admin Mode → Utilities → Manage Devices.
- Remove old or unused computers to free up license spots.
- Moving TimeClick to a new computer? Follow our 3-minute guide.
TIMECLICK TIP
Each computer running TimeClick uses one license. Removing inactive devices is the fastest way to free up a license for a new workstation.
4. Restrictions

The Restrictions feature allows you to give managers or supervisors limited admin access while keeping sensitive settings secure.
- In Admin Mode, open Employees → Edit Employee Record → Restrictions.
- Check Set Employee as Restricted Admin and select which tools they can access, such as Dashboard, Employees, or Modify Times.
- This setup is ideal for team leads who need limited control without full administrative access.
Restricted Admins can log in from the main screen by selecting Admin → Restricted Admin.
5. PTO (Accrued Times)

Setting up PTO in TimeClick makes it simple to track vacation and sick leave automatically.
- In Admin Mode, open Accrued Times.
- Create a Category to define how time is earned — per year, month, pay period, or hour worked — and assign it as PTO, Vacation, or Sick.
- Add any existing balances for employees under Employees → Edit Employee → Accrued Times.
Employees can submit PTO requests directly in TimeClick, and you can approve or deny them from the Dashboard. To view a history of changes, run the Accrued Time History Report in the Report Center.
6. Departments & Jobs

Departments and Jobs help organize your team and track where time is spent.
- In Admin Mode, go to Employees → Edit Departments (or Jobs).
- Create new departments or job roles and assign employees to them.
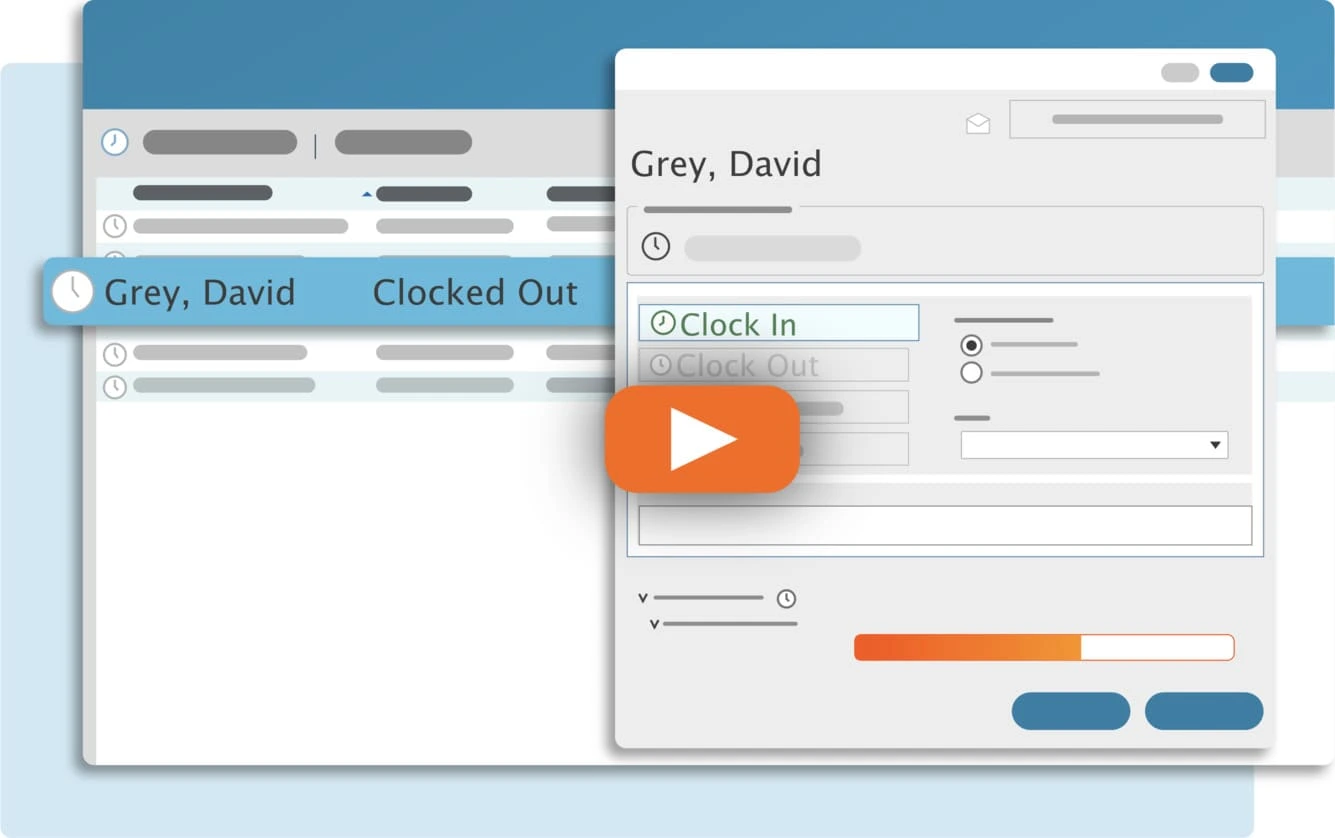
- Employees can select their department or job when clocking in.
- Reports can be filtered by department or job for better insight.
Example: Use Jobs to compare how many hours went into Project A versus Project B for clear productivity tracking.
7. Midnight Shifts

For employees who work overnight, Midnight Shifts ensure hours are counted correctly across days.
- In Admin Mode, go to Employees → Clock Schedule.
- Adjust the Set Period Cutoff. The default is 12 AM, but you can change it — for example, to 8 AM — so a shift like 10 PM to 6 AM is treated as one workday instead of being split between two.
TIMECLICK TIP
Midnight Shifts keep overnight hours grouped together, helping your reports stay accurate when employees clock out after midnight.
What’s Next?
Now that you’ve set up Dashboard, Settings, Utilities, Restrictions, PTO, Departments, and Midnight Shifts, you have all the core features needed for smooth day-to-day operation. These tools give you full control over your team’s time tracking and reporting.
For next steps, check out:
- Your Guide to TimeClick Mobile - Learn how to set up mobile access and geo tools.
- TimeClick Support - Browse guides, FAQs, and troubleshooting resources for common questions.
That’s it. You’re now ready to manage your team efficiently using the most commonly used TimeClick features that businesses rely on after learning the basics.