If TimeClick asks for an IP address, it means the workstation isn’t able to automatically find your TimeClick Server. Don’t worry - this is one of the most common and easiest issues to fix. Follow the steps below, and you’ll usually be back up and running in just a few minutes.
Why You’re Seeing This Prompt
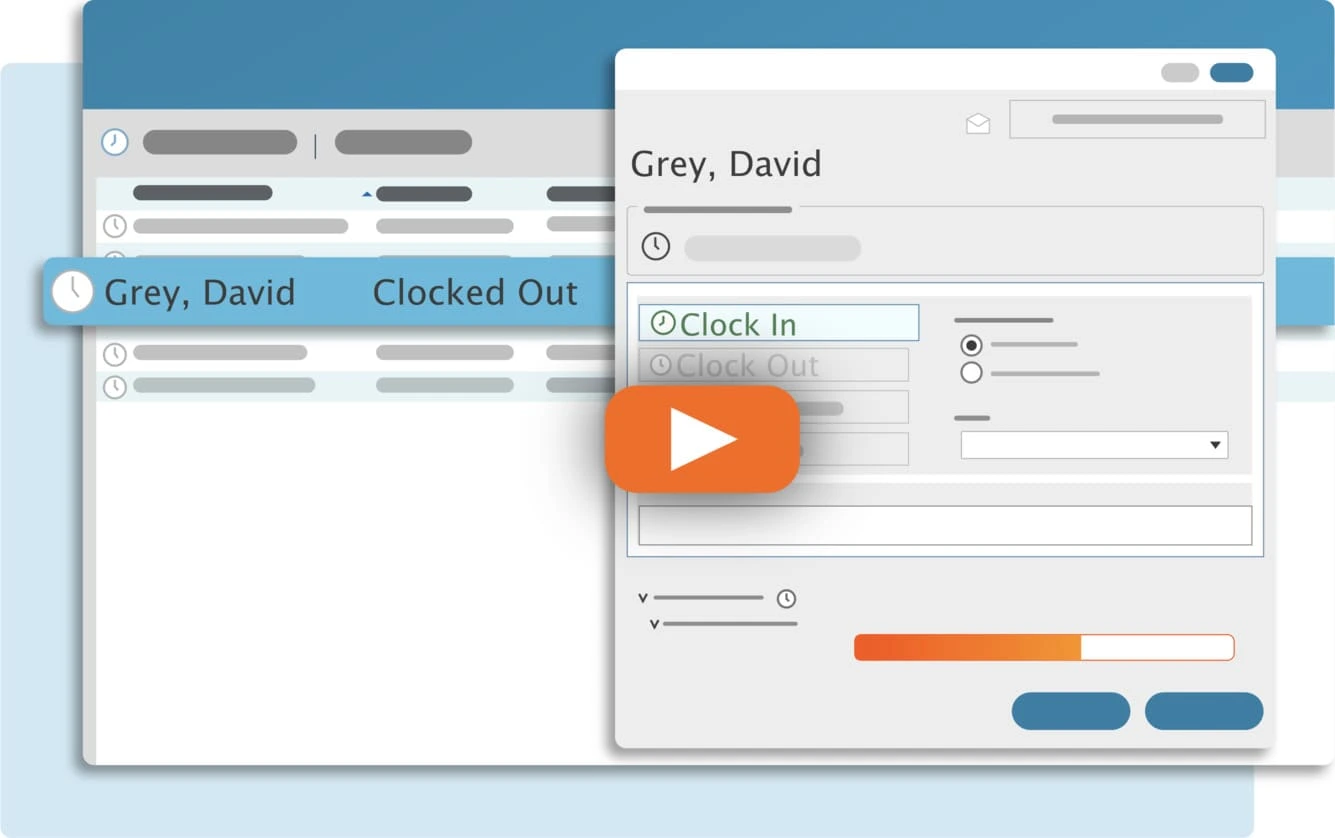
TimeClick connects each workstation (client) to your main TimeClick Server. When that connection breaks, you’ll see the IP address prompt. This simply means the workstation can’t find the server automatically.
Here are the most common reasons this happens:
- The TimeClick service on the server stopped running or the server was restarted
- The workstation and server are on different Wi-Fi or network connections
- The server’s IP address changed after a router or internet update
- A firewall started blocking TimeClick after a system or antivirus update
Identify Where the Problem Is
Before jumping into fixes, take a moment to see where the issue is coming from. That will tell you which steps to follow.
- Server shows the IP prompt → The problem is on the server (~ 2-10 minute fix).
- All clients show the IP prompt → The problem is on the server (~ 2-5 minute fix).
- Only one client shows the IP prompt → The problem is on that workstation (~ 2-3 minute fix).
Options A or B: Fix the Server
If the server or all clients show the IP prompt, start here. While the server is down, no client computers will be able to connect.
Step 1 - Restart Services
- Press the Windows key and type
Services, then open it (gear icon). - Scroll to the
Tsection and look fortcserviceandtcpgsql. - If they’re listed but stopped, restart them. If TimeClick opens afterward, you’re done!
- If one or both are missing, part of the program was removed—usually by a Windows Update or antivirus. In that case, reinstall TimeClick.
Step 2 - Reinstall TimeClick on the Server
Before reinstalling, make sure you have a recent backup:
- Default backup locations:
C:\Program Files (x86)\TimeClick Server\backups- or
C:\ProgramData\TCDB
- Backup files end in
.tcdband should be at least 100 KB in size.
If you have a backup, follow these steps:
-
Open Control Panel → Programs & Features.
Find TimeClick, note the version, and uninstall it.


- When asked to delete the program, click Yes.

- When asked to delete your data, click No to keep your database safe.

- When asked to delete the program, click Yes.
- Reboot if prompted.
- Download the same version from timeclick.com/download and reinstall it.
-
The installer will detect your existing data. If it asks to delete your database, select No.

Once setup is complete, open TimeClick on the server. The client computers should reconnect automatically as soon as the server is available.
TIMECLICK TIP
If you run into installation issues, double-check your antivirus or security settings, or contact our support team for help.
Option C: Fix a Single Client
If only one workstation shows the IP prompt, the issue is usually local to that computer. Try the steps below to reconnect it:
- Check the network - Make sure the workstation is connected to the same Wi-Fi or wired network as the server.
-
Enter the server address - When the IP prompt appears, type your server’s IP address and click Connect.
TIMECLICK TIP
On any computer that’s already working with TimeClick, click Connection or System Info at the top of the screen to find the correct server IP address.
-
Test the firewall - If the client still can’t connect, temporarily turn off the firewall on the workstation.
If that doesn’t help, turn off the firewall on the server instead.
If the connection works while the firewall is off, follow our guide to set permanent exceptions: How to Allow TimeClick Through Your Firewall.
Multiple Clients Show the Prompt
If several workstations show the IP prompt at once, the issue is almost always with the server connection.
Start by fixing the server, then test the client computers again once it’s back online.
Prevent It From Happening Again
Once you’re reconnected, take a few quick steps to make sure the problem doesn’t come back:
- Set a static IP on your server so the address stays the same
- Allow TimeClick through the firewall on both the server and all clients
- Keep a recent backup in your default backup folder or another safe location
Download and Update History
Need to reinstall or grab the latest update for your version of TimeClick? You can find everything here:
Frequently Asked Questions
Here are quick answers to the most common questions about the IP address prompt and server connections in TimeClick.
Will I lose my data if I reinstall on the server?
No. When uninstalling, choose to remove the program but keep your data. During reinstall, if the installer asks to delete data, select No. It will automatically detect your existing database folder.
Where can I find my backups?
Default backup locations are:
C:\Program Files (x86)\TimeClick Server\backupsC:\ProgramData\TCDB
Backup files end with .tcdb.
How do I find my server’s IP address?
Open TimeClick on the server or any workstation that’s already connected. From the top menu, select Connection or System Info. You’ll see the server IP listed there.
Do I need to change anything on every workstation?
Usually not. Once the server is back online, all clients should reconnect automatically. If a client still shows the IP prompt, just enter the server IP once and save.
Can a firewall cause this problem?
Yes. If turning off your firewall temporarily restores the connection, you’ll need to add exceptions for TimeClick on both the server and client computers. See the full guide: Allow TimeClick Through Your Firewall.
Conclusion
The IP address prompt simply means the workstation can’t find your TimeClick Server, and it’s almost always a quick fix.
- Determine whether the issue is on the server or a single workstation.
- Follow the matching steps above to reconnect.
In most cases, you’ll be back up and running in just a few minutes.
To keep it from happening again, make sure to:
- Set a static IP on your server so the address doesn’t change
- Allow TimeClick through your firewall on both the server and clients
- Keep a recent backup stored in a safe location