Whether you’re brand new to TimeClick or just want a clearer picture of how it works, this guide is the perfect place to start. Some users will land here after already installing TimeClick on one device, while others may be setting it up for the first time. Either way, you’ll find everything you need to set up and start tracking time confidently.
How TimeClick Works
TimeClick has two main parts that work together:
- TimeClick Server - the main computer that stores all your company’s time data.
- TimeClick Client - any other computer that connects to the server and uses that same data in real time.
TIMECLICK TIP
You don’t need a physical server. The “server” can be any dependable Windows computer (Windows 8 or newer).
If you ever want to move it later, it only takes a few minutes - see our Move Your TimeClick Server Guide.
Step 1 - Install the Server
Install the server first - it’s the foundation that every client computer connects to.
- Visit www.timeclick.com/download and select Server under the version you’re using.

- Run the installer (takes ~ 40 seconds).

- Choose one of the setup options:
- Start Fresh - create a new company setup.
- Explore Sample Data - try out TimeClick with example employees.
- Import Existing Data - use this if you’re moving from another server.

Once installed, you’re ready to go! To finish setup, follow our 5-Minute Setup Guide or continue to Step 2 to add TimeClick to other computers.
Step 2 - Install the Clients
Once your server is running, you can add TimeClick to other computers in just a minute or two:
- Go to www.timeclick.com/download and click Client.
- Run the installer (takes about 40 seconds).
- When finished, the client will automatically connect to your server and load your shared data.
TIMECLICK TIP
You can access all admin tools from any workstation - you don’t have to be on the server computer.
If the client asks for an IP address, it means it can’t find your server. Just follow the prompts or see our IP Address Fix Guide.
Step 3 - Get Started
You’re now ready to use TimeClick. Start with our 5-Minute Setup Guide - it really does take only five minutes. Once you’re familiar with the basics, explore our other guides anytime to dive deeper into features.
Identifying the Icons
When you install TimeClick, you’ll see two desktop icons - one for the Server and one for the Client. Here’s how to tell them apart:
- TimeClick Server - gray icon with the version number shown.

- TimeClick Client - blue icon with the version number shown.

The icons look very similar, so check both the color and version number before opening one. Here’s what they look like side by side:
FAQ
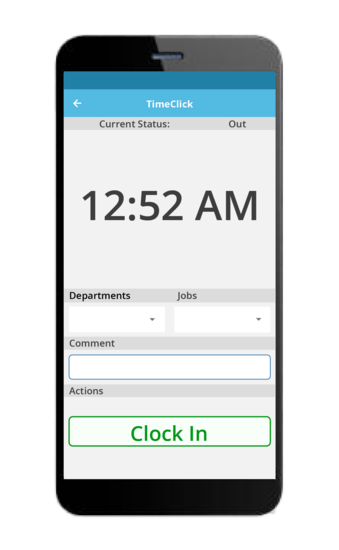
Can I install TimeClick directly on my phone?
Not yet. You’ll always need one desktop computer running the TimeClick server first. Once that’s set up, you can connect using the mobile app. See our Mobile Setup Guide for details.
What if I installed the server on the wrong computer?
No problem. You can move your TimeClick server anytime - it only takes a few minutes. Follow this guide: How to Move Your TimeClick Server.
Can TimeClick run completely online?
No. TimeClick is desktop-based software, which means you own your data and avoid monthly cloud fees. The trade-off is that access stays tied to your devices, but this setup keeps your data secure, private, and cost-effective.
Next Steps
Ready to start? Complete the 5-Minute Setup Guide.
Or jump to a specific topic:
- Create employees and departments
- Set up overtime or customize your display
- Manage PTO and Accrued Time - Learn how to track vacation and sick leave
- Enable mobile access and geo tools
- Run your first payroll report
If you need help at any point, visit our Support Page for step-by-step guides and quick fixes.